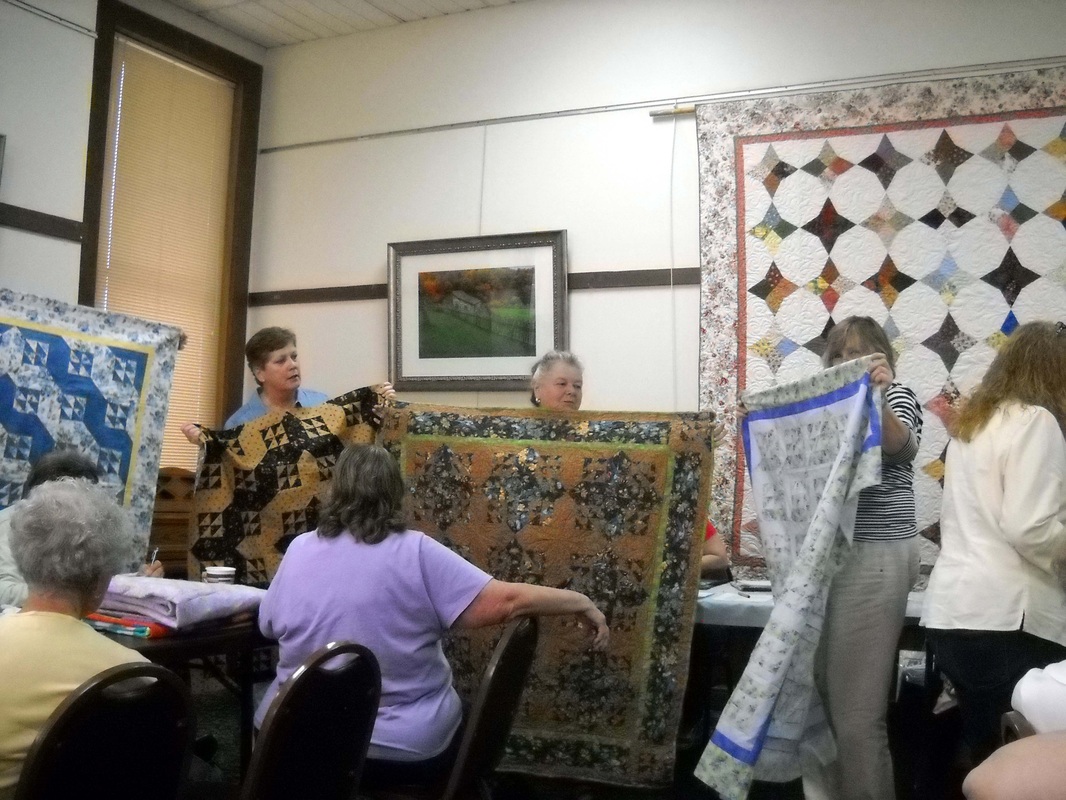
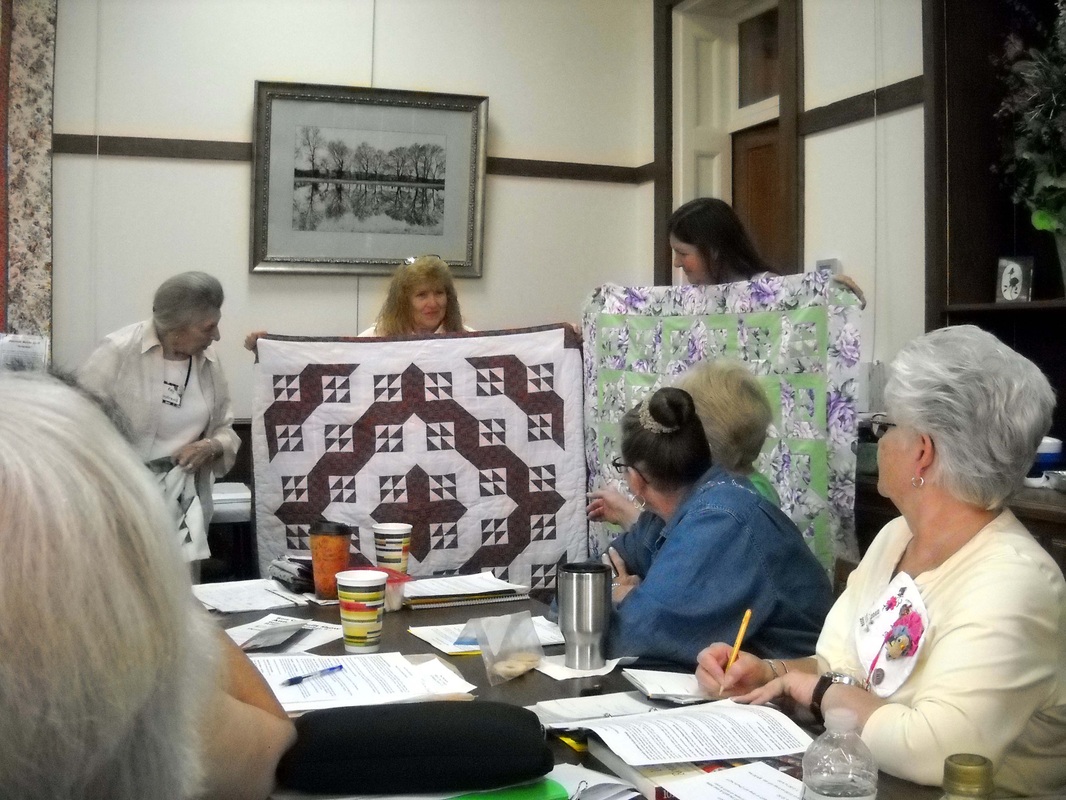
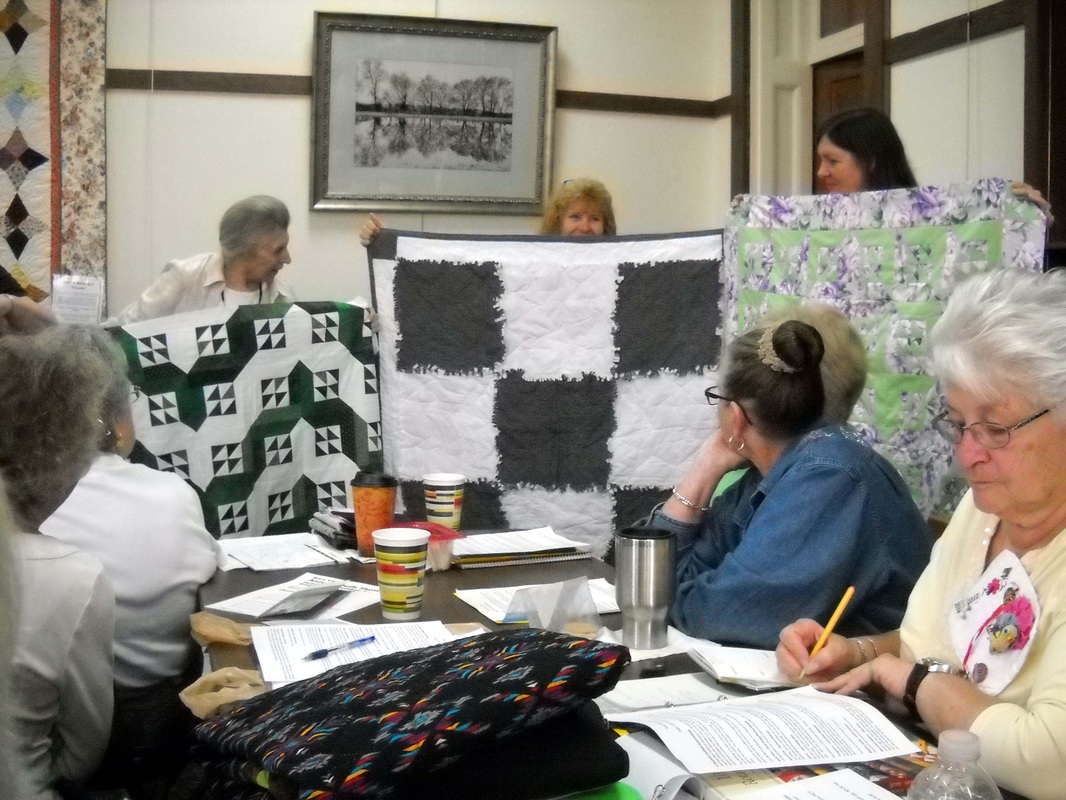
I enjoyed going to the Rose Center in Morristown on Tuesday this week and meeting with a great bunch of gals who are really friendly and really great quilters. Next month is the yearly quilt show they sponsor so there was a lot of discussion about that. There was also a great show of the "mystery quilts" that the group has been working on for the past year.
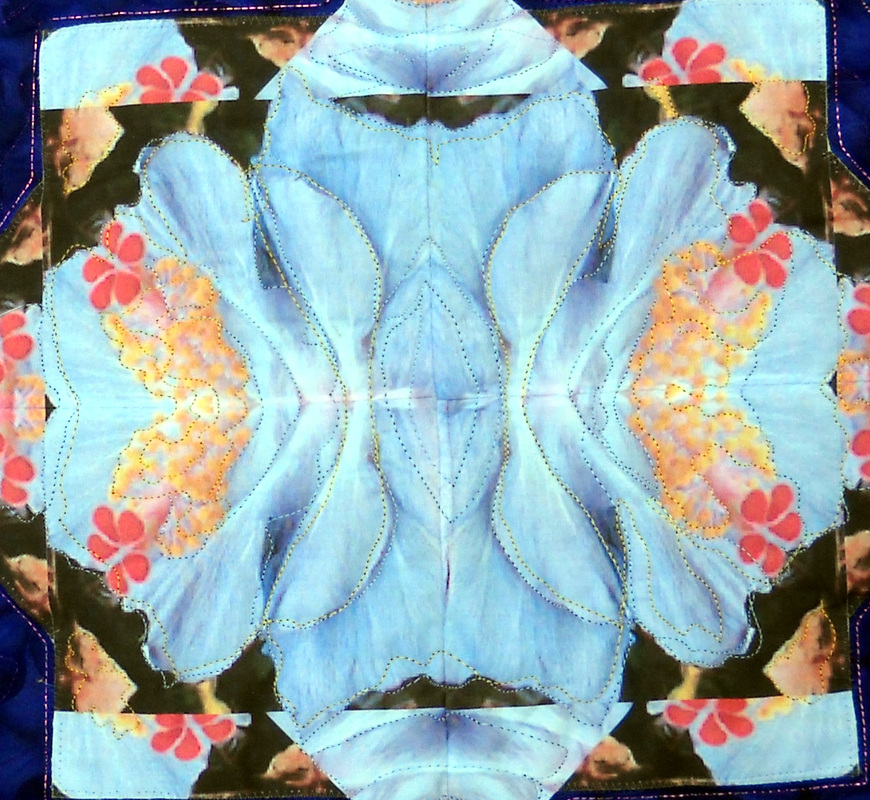
 
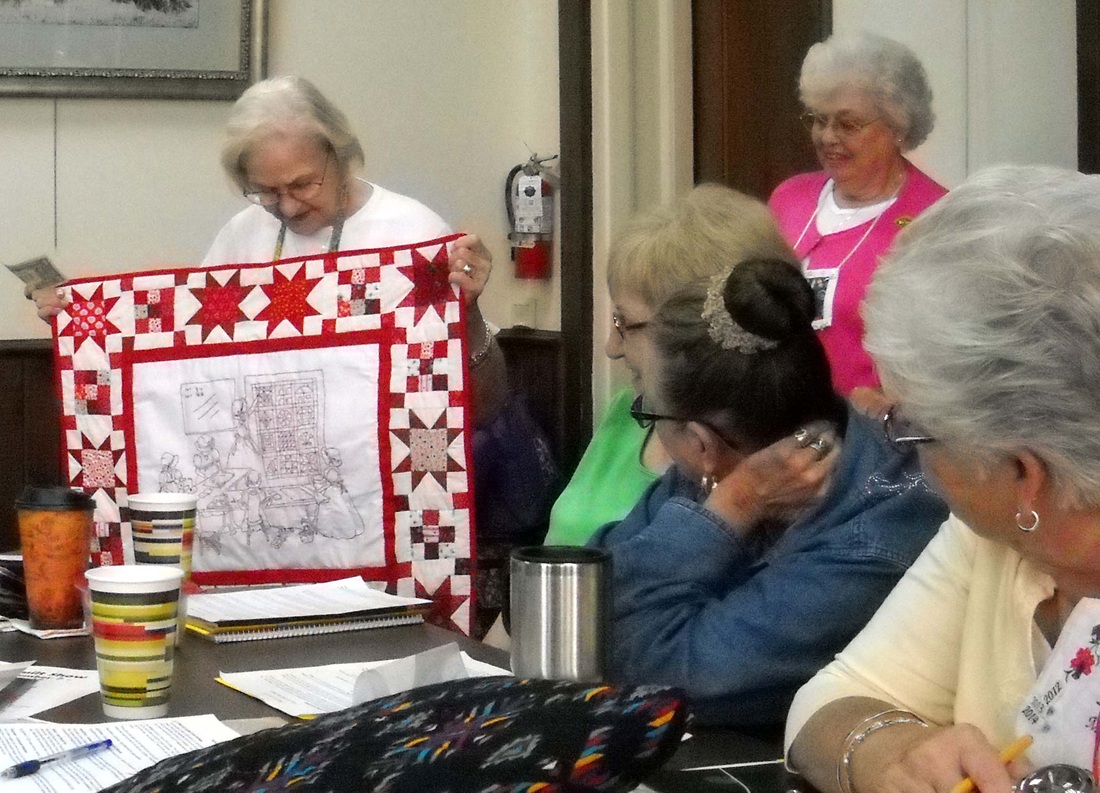
We nominated up to 6 of our UFO's (unfinished objects) in a challenge and every other month we draw a number to determine which one we will finish for the next meeting. So far I am batting ZERO and have lost every dollar I bet! Its been a bad year for me and UFO's I guess you could say! But this lady finished this pretty redwork piece and got a good round of applause.
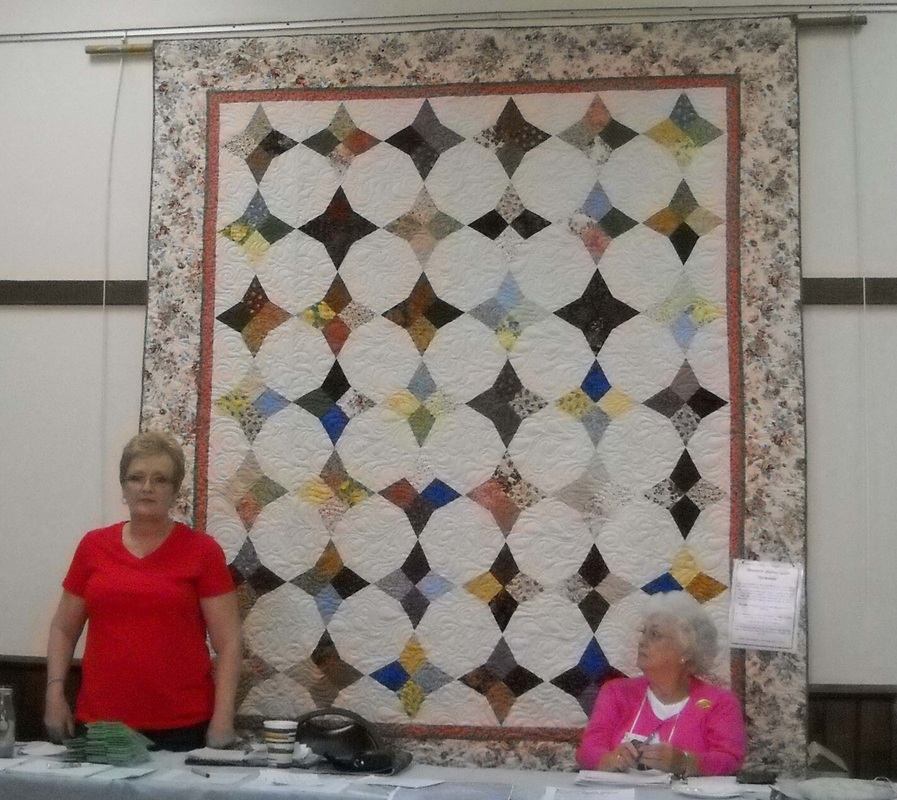
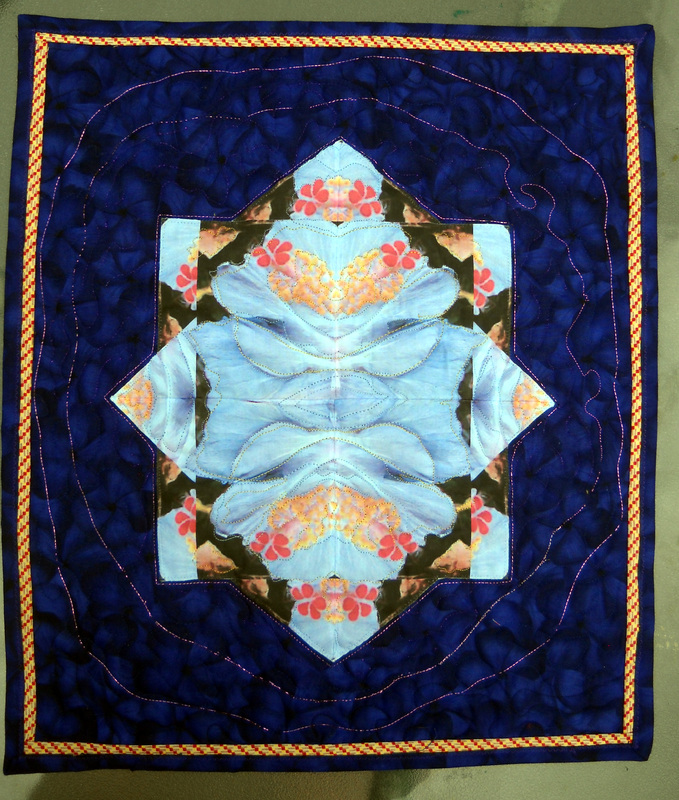
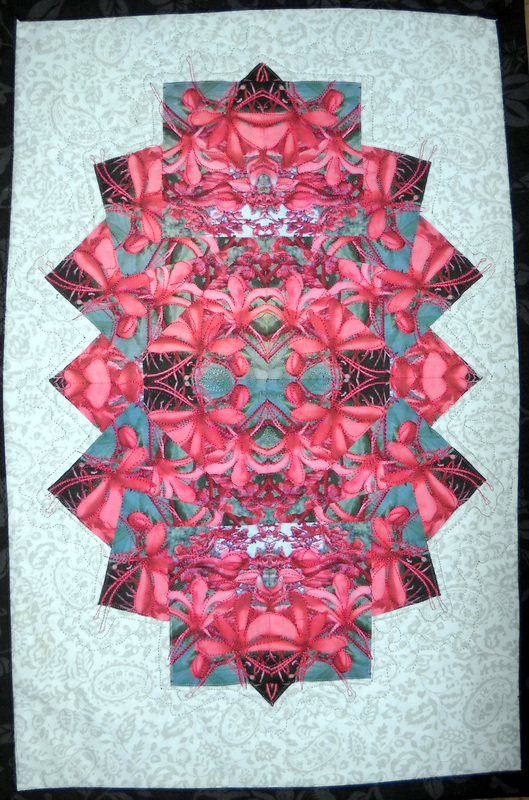
0 Comments
Well I spent a fruitful afternoon reworking my first portrait quilt. I was sooo excited when I did it I forgot to put any batting in it, I didn't square up the borders or the quilt itself, it was a beautiful mess! I didn't even realize it but now a little time has passed and hopefully I am learning along the way and I was going to enter it in a show and I took a look and said, "yikes!" Oh, I didn't even do any quilting on it, just pieced and appliqued it and sewed on those wompy borders that are now on the cutting room floor. I guess you will not be able to tell much because the picture I had of it hides the borders because its behind a frame. But trust me, they were WONKY. Also, you cannot see the detail of the quilting and how much it enhanced it but here goes... the before and after.
Found some UFO's while ratting through my stash. You know if you are a quilter what these are.... unfinished objects! Since I have been hard at work on my quilt to enter for SAQA's show "Food for Thought" I felt I needed a break and decided to do something with these. I actually had 3 sets I had done probably 4 or 5 years ago but one was faded as if the ink was running out on my cartridge so it will have to be something else. I was trying out a technique where you take photographs of flowers and chop them up in adobe photoshop and put them back together and print them on fabric. My photoshop is an ancient version so this is labor intensive... probably won't do it again.
But I like these little quilts: Here is a great idea for a quick quilt for a gift or just cause you love it. The instructions said to take 4 pieces of same size fabric, say 1 1/2 or 2 yards of each and pin together. Then sew diagonal lines 1/2 inch apart across the whole top and then cut the top 3 layers between each line of stitches. This opens up all the way to the bottom layer; wash and dry in the machine to ruffle it well and you have a chenille quilt! I love the bottom purple fabric peeping through the lighter colors and the bright green. Now the way you arrange the fabrics can change the whole appearance too. Experiment with some small samples first and you can see which way works best for your color combo. I am going to make a full size one of these soon. Oh, best choice is ravel-ee fabrics! How on earth do you spell that, its probably not a word, but you know what I mean. They will fluff out perfectly in the dryer but you may need to change your filters during the process. The weather here in east TN is so awesome we got to have a fire in the chimaneyo several nights last week and its still wonderful. Its been in the low fifties at night. I love it.
|
Sharon BuckI have always been an artist and with art quilts I have found a way to combine my two loves of painting and textiles. Archives
August 2022
Categories
All
Categories
All
|